Getting Started
First launch
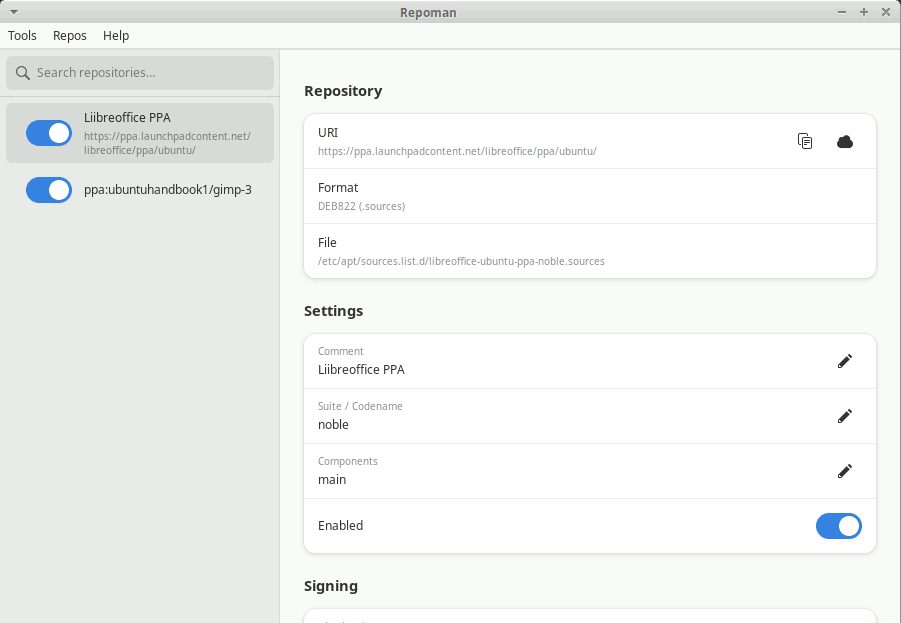
Open repoman from your system menu (System → Repo Man) or run repoman in a terminal.
The main window has two panels:
- Left — the repository list. Every third-party APT repository in
/etc/apt/sources.list.d/appears here, sorted alphabetically. Ubuntu's own repositories are hidden. - Right — the detail pane. Click any repository to see and edit its settings.
The upgrade banner
If repoman finds repositories that need attention, a yellow banner appears at the top of the window. Repositories flag as needing attention in two cases:
- Disabled — Ubuntu set
Enabled: noduring an upgrade. - Stale codename — the repository is enabled, but its suite field (
focal,jammy,noble, …) doesn't match your current Ubuntu release. These generate silent 404 errors on everyapt update.
The banner shows how many repositories need attention. Click Review to open the upgrade wizard, or dismiss it and deal with them manually via the detail pane.
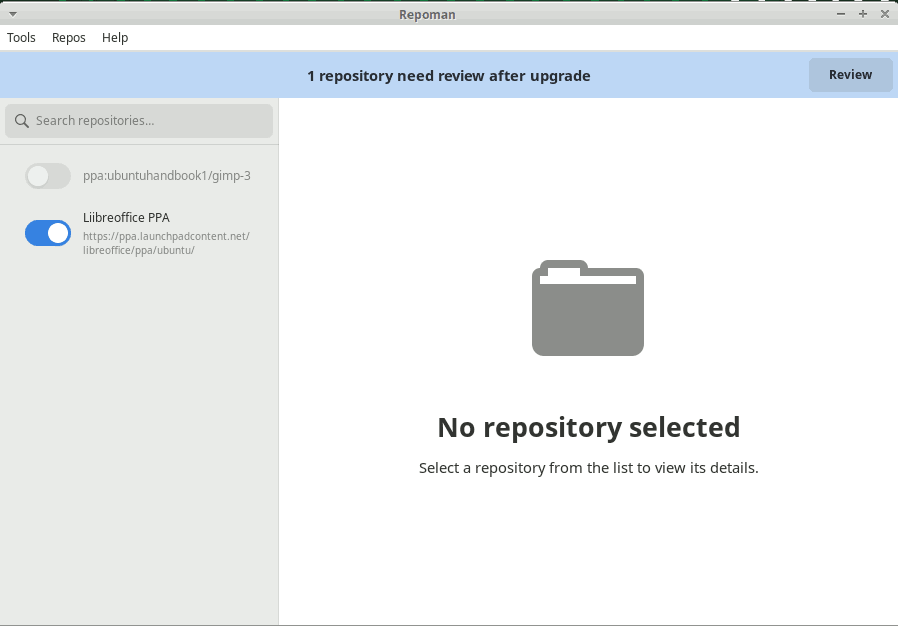
You can also open the upgrade wizard at any time via Tools → Run Upgrade Assistant…, whether the banner is visible or not.
Status icons
Each repository row in the sidebar shows a small icon on the right:
| Icon | Meaning |
|---|---|
| ✓ (green) | Available for the target release |
| ⚠ (orange) | Not yet available for the target release |
| 🔒 (grey) | Suite-agnostic — stable, main, etc. — no codename check needed |
| ? (dimmed) | Not yet checked |
The ? icon is the default before any availability check runs. The wizard runs checks on Step 2; the compat checker runs them independently.
What repoman does not touch
- Ubuntu's own repositories (
archive.ubuntu.com,security.ubuntu.com,ports.ubuntu.com,esm.ubuntu.com) - Any repository in
/etc/apt/sources.list(the legacy root file) — only files insources.list.d/are managed - Package installation, removal, or updates — repoman only manages repository configuration
Keyboard shortcuts
| Shortcut | Action |
|---|---|
Ctrl+U |
Run Upgrade Assistant |
Ctrl+R |
Open Software Updater |
F5 |
Refresh repository list |
Ctrl+N |
Add Repository |
Ctrl+S |
Save state |
Ctrl+F |
Search repositories |
Ctrl+F1 |
Keyboard shortcuts window |
Ctrl+Q |
Exit |
The full list is also available in the app under Help → Keyboard Shortcuts.
Next steps
- Upgrade workflow — walk through the wizard after an Ubuntu upgrade
- Managing repositories — add, remove, edit, and annotate repos
- State management — save your repo config and restore it on a new machine or after a reinstall